


.png)
%20(1).png)
.png)


.svg)
.svg)
.svg)

.png)
.png)
.png)
.svg)
.svg)
%20(1).png)
.svg)
.png)


.png)
.svg)
.svg)
.svg)

%20(1).png)
.png)
.png)

.png)
.png)
.svg)
.svg)
%20(1).png)
%20(1).png)
.png)

%201296x600px.png)
Best Time to Post on LinkedIn for B2B & Financial Services (2026)
Social media automation is the smart use of tools to handle tasks on social media platforms without needing to do them manually. This method is great for busy businesses with multiple accounts. It includes scheduling posts, sharing content, and interacting with followers.
This way, businesses can focus more on making great content and less on repetitive tasks. It boosts efficiency and lets teams work together better.
In this guide, we'll explain what social media automation is, explore its benefits, and show you how to use it effectively. We'll discuss the best ways to automate your social media and what to avoid.
From content creation to team collaboration and gaining business intelligence from your social media activities, we'll cover all you need to know to improve your social media strategy.
What Is Social Media Automation?
Social media automation is all about using tools that automatically handle your social media work. It's like having a helper to save you time when you market on social media.
For example, you can set up these social media automation tools to post for you at planned times rather than posting things yourself right now. Also, instead of thinking of new ways to use your content, you can let these tools offer different ways to reuse it.
To determine which social media tasks to automate, looking at how your posts and campaigns did in 2024 is a good option. Analyze them to see what you can learn. The information you get from this can guide you in making your posts better and more noticeable using automation.
For instance, if you find out your audience didn't see your posts when they are most active online, you can use automation to schedule your posts for those peak times.
This approach shows why automation is essential for social media marketing and how significantly it can boost your social media engagement.
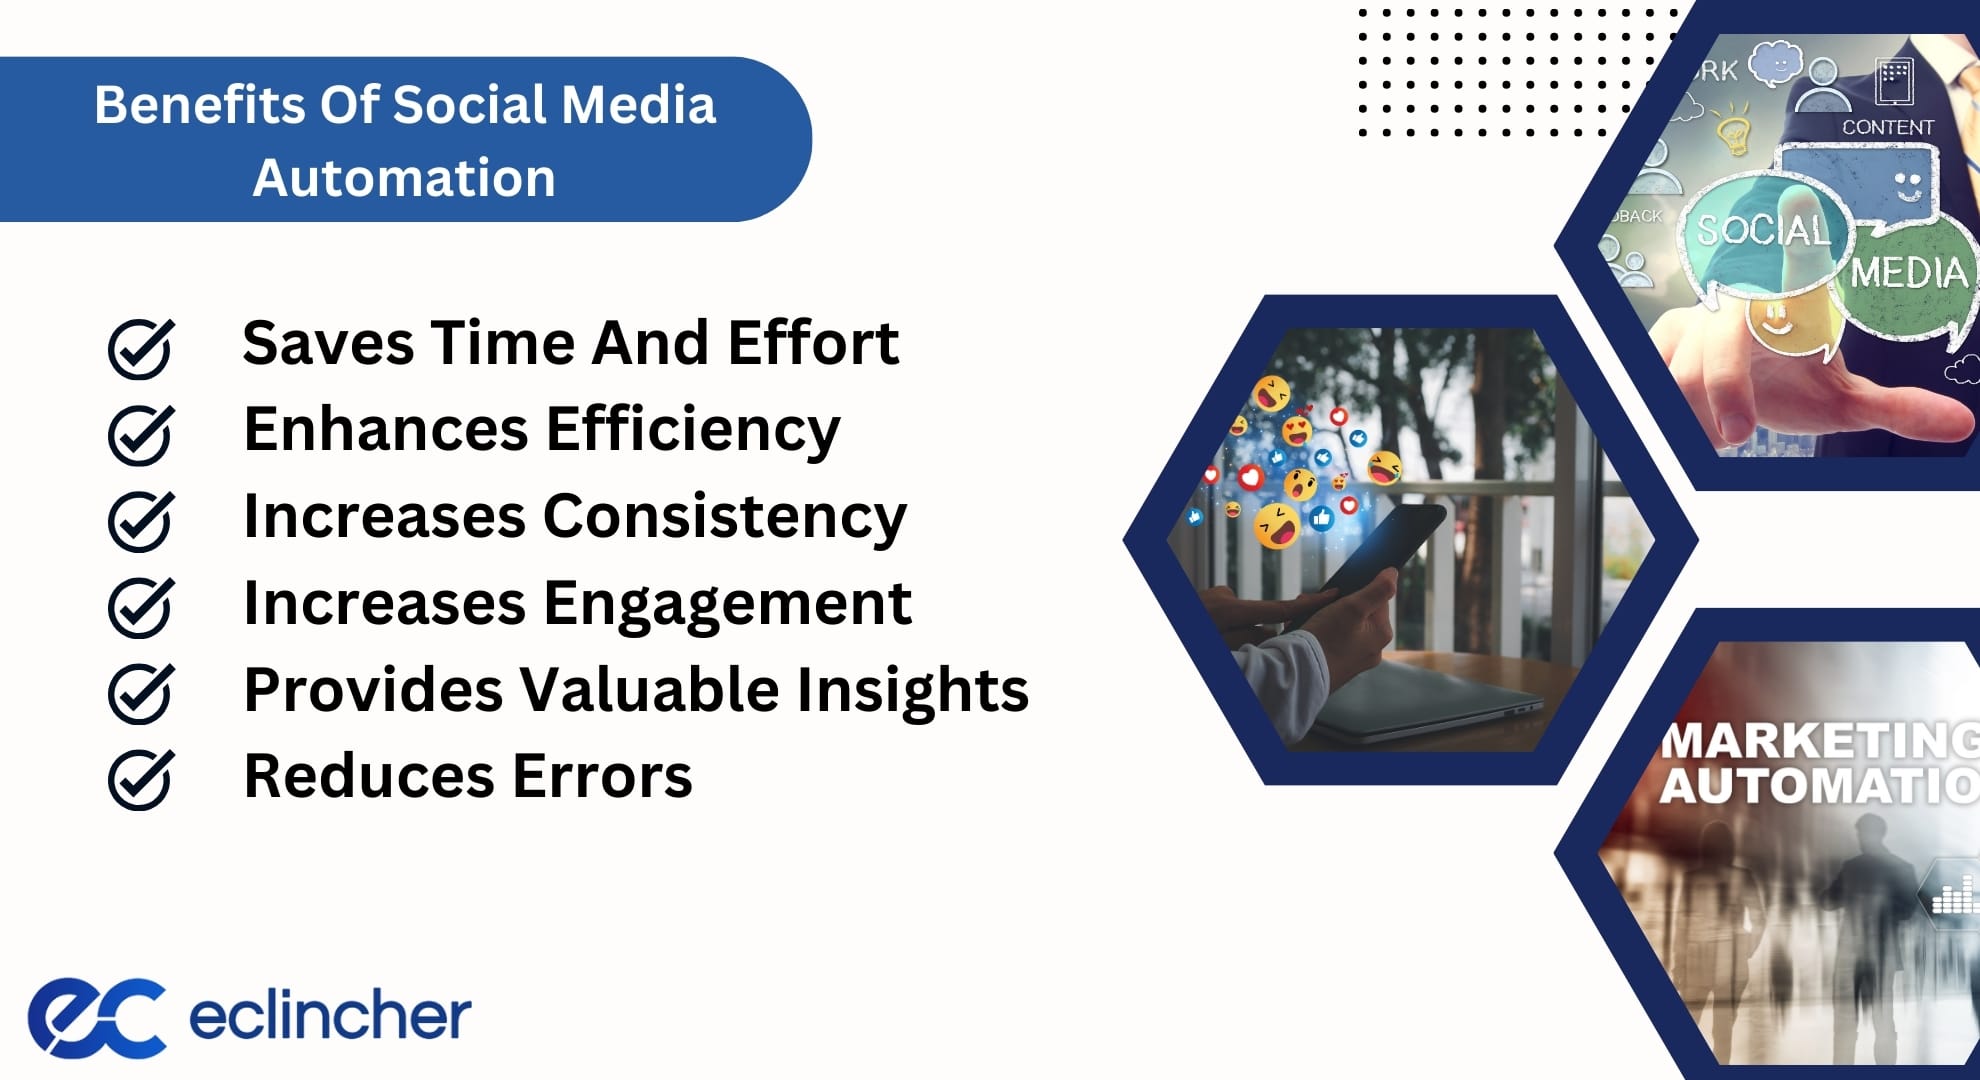
Benefits Of Social Media Automation
Social media automation has significant benefits. Your customers are always online; being there for them on different social media platforms is important.
It helps keep your brand's image good and keeps your sales up. Social media automation is a great way to ensure your brand is doing well online while saving you time.
With powerful social media management tools such as Eclincher, you can easily manage many social media accounts across multiple platforms. This shows how using social media automation can simplify managing social media for all businesses.
Saves Time And Effort
Using a social media automation tool removes repetitive tasks, freeing up your time and resources. You can set up your social media posts to be published automatically, making your social media workflow smoother. This lets you focus on bigger plans and strategies.
Enhances Efficiency
These tools help manage multiple social media channels from one central place, providing a unified dashboard for all your activities. Not only can you schedule your posts across different platforms, but you can also monitor their performance and analyze the results in real-time.
This comprehensive view of your social media efforts makes your work more streamlined, significantly boosts your productivity, and equips you with the insights needed to make informed decisions.
This centralized approach allows for easier comparison of strategies across platforms, enabling you to refine and adapt your tactics for better engagement and impact.
Increases Consistency
A consistent social media presence is crucial for building trust with your audience. Automation ensures that your content is shared regularly across various platforms, maintaining a continuous connection with your audience.
This consistent engagement keeps you visible and relevant, even during your busiest times. It helps cultivate a loyal following by providing your audience with solid content, ensuring they always have something new and interesting from your brand to engage with.
Increases Engagement
With automation, you gain extra time to interact with your audience personally. Responding to comments, messages, and tags becomes more manageable, fostering stronger connections. This direct engagement is key in building a community around your brand.
It enhances the relationship with your current audience and attracts new followers, as they see the genuine effort put into maintaining a lively and interactive social media presence.
Provides Valuable Insights
Automation tools are valuable in tracking key metrics such as the reach of your posts, user engagement, and the overall effectiveness leading to results. This data provides a solid foundation for making informed decisions, allowing you to fine-tune and enhance your social media campaigns.
These insights can identify trends and patterns in audience behavior, enabling you to tailor your content more precisely to the interests and needs of your followers, thereby increasing the relevance and impact of your social media efforts.
Reduces Errors
As your business grows, managing social media gets trickier. Automation simplifies this by offering options like scheduling lots of posts at once, helping teams work together, and providing a library of content. It ensures your social media efforts grow with your brand without putting too much strain on your team.
How To Use Social Media Automation The Right Way?
For social media marketers, everyday tasks are perfect for automation. We'll guide you through these tasks and how to automate them effectively.
Post Scheduling
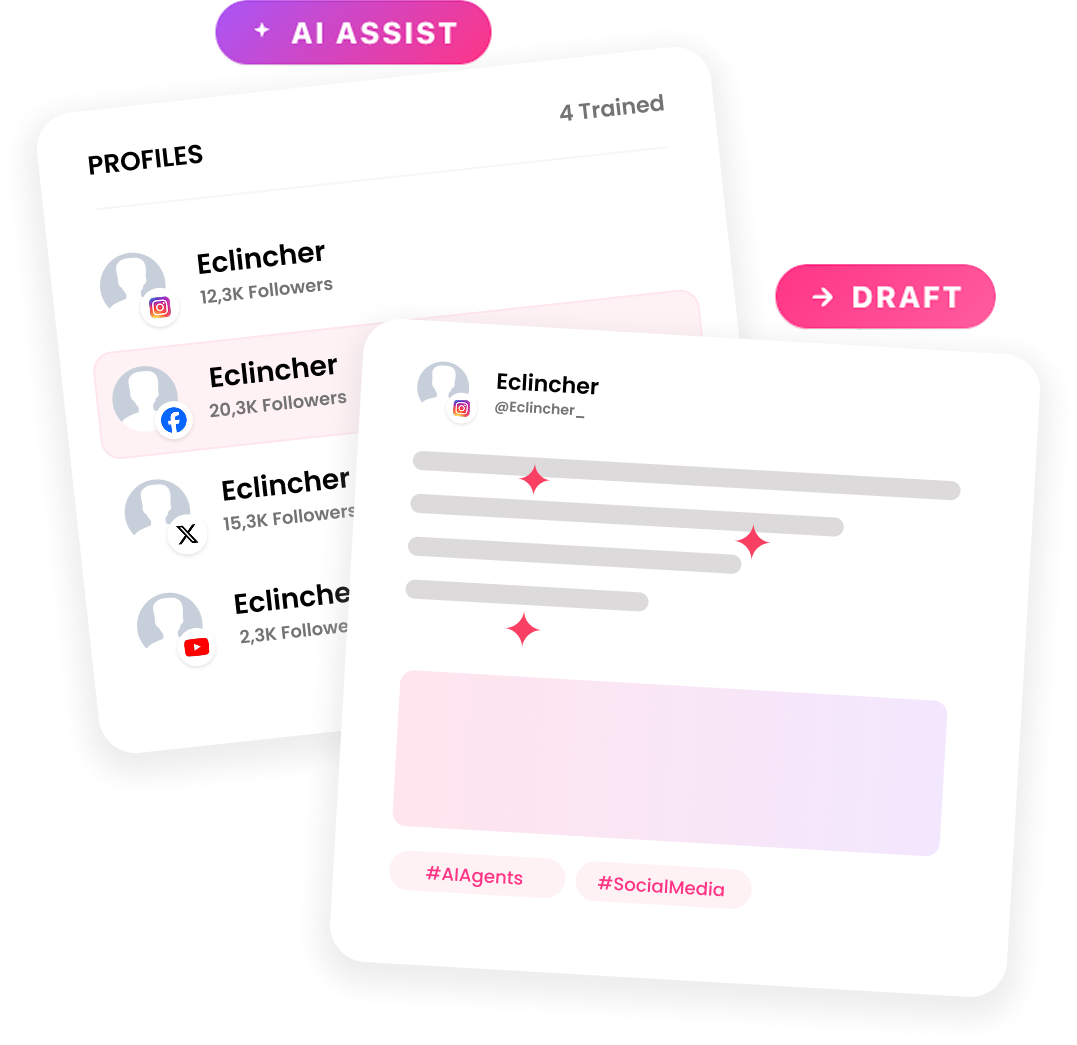
A real game-changer is using social media automation software to schedule your posts ahead of time. You can plan and set up multiple posts to go live at specific dates and times.
Creating your posts in advance and scheduling them in one go saves you from having to post them individually throughout the week or month.
Knowing the best times to post is crucial because your followers are more likely to see your content at these times. With these tools, you can experiment with posting at different times and days to see what works best without sacrificing your weekends for a post that needs to go up on a Saturday or Sunday.
Content Publishing
Content publishing is a key part of social media automation. These tools simplify adjusting and sharing your content on various social media channels. They let you draft, preview, and either post immediately or schedule your content for the best time.
This is handy when managing multiple platforms or part of a remote team working on the same social media accounts.
Social Monitoring And Listening
Social listening tools help you track what people say about your brand, industry, and competitors. This can be a big task if done manually. Automating this process provides valuable insights for your social media strategy.
Ad Automation
Besides automating your content, you can also automate parts of your digital ad campaigns. Tools available on platforms like Facebook Business can help create different ad versions, call-to-action buttons, and suggestions for sponsored content.
You can also schedule your ads to appear at different times, targeting specific audiences to optimize your campaign and save money.
Content Recycling
Recycling content means reusing your old blog posts to engage with your audience again. It ensures valuable content gets more exposure, especially for new followers who might have missed it the first time. This extends the life of your content and its engagement potential.
Sync Your Accounts
Syncing your accounts across multiple platforms ensures that all your profiles show the latest updates or news. This is great for brands active on various platforms, making management smoother and keeping your brand consistent everywhere.
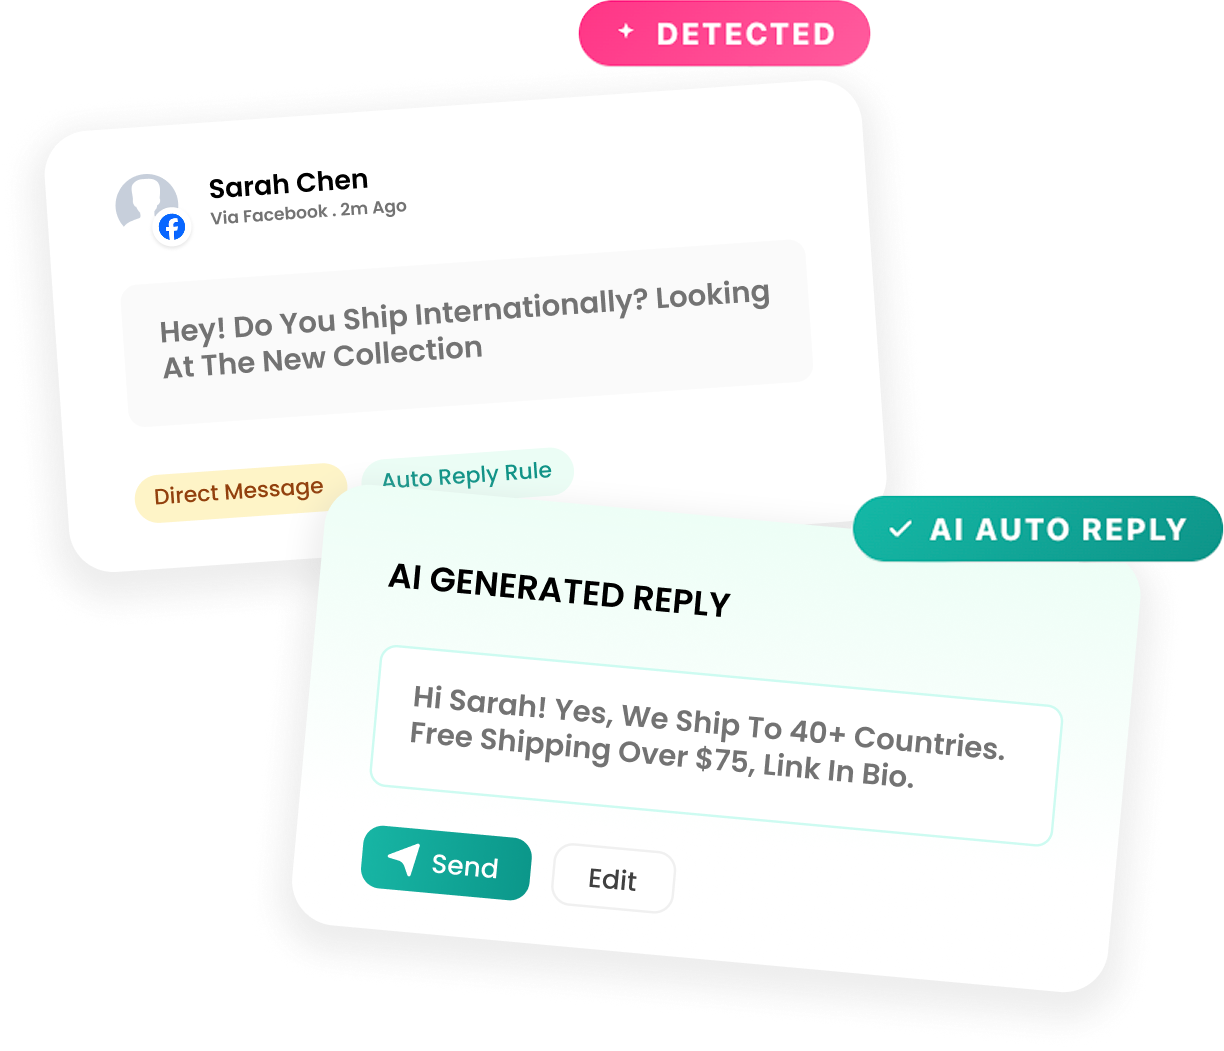
Automated Responses
Responding quickly to messages on your social media channels is important. Social media automation software can set up automated responses to keep your prospects engaged, even when your team is not available. Choosing a tool that allows you to create these automated responses effectively is essential.
What Are the Best Practices of Social Media Automation?
Social media automation keeps your brand always present and active on social media. This involves regularly checking, analyzing, and making changes as needed. Here are some key tips to follow when you automate social media tasks to ensure you're doing it in the best way possible.
Regularly Monitor Your Automation Tool
Even though automation tools cut down on the work, it's still important to monitor them. Always check on your social media campaigns and the tool's performance.
This helps ensure you engage well with your audience and get the most out of your content. You can keep improving your strategy by tracking what's worked in the past.
Keep Time Zones In Mind
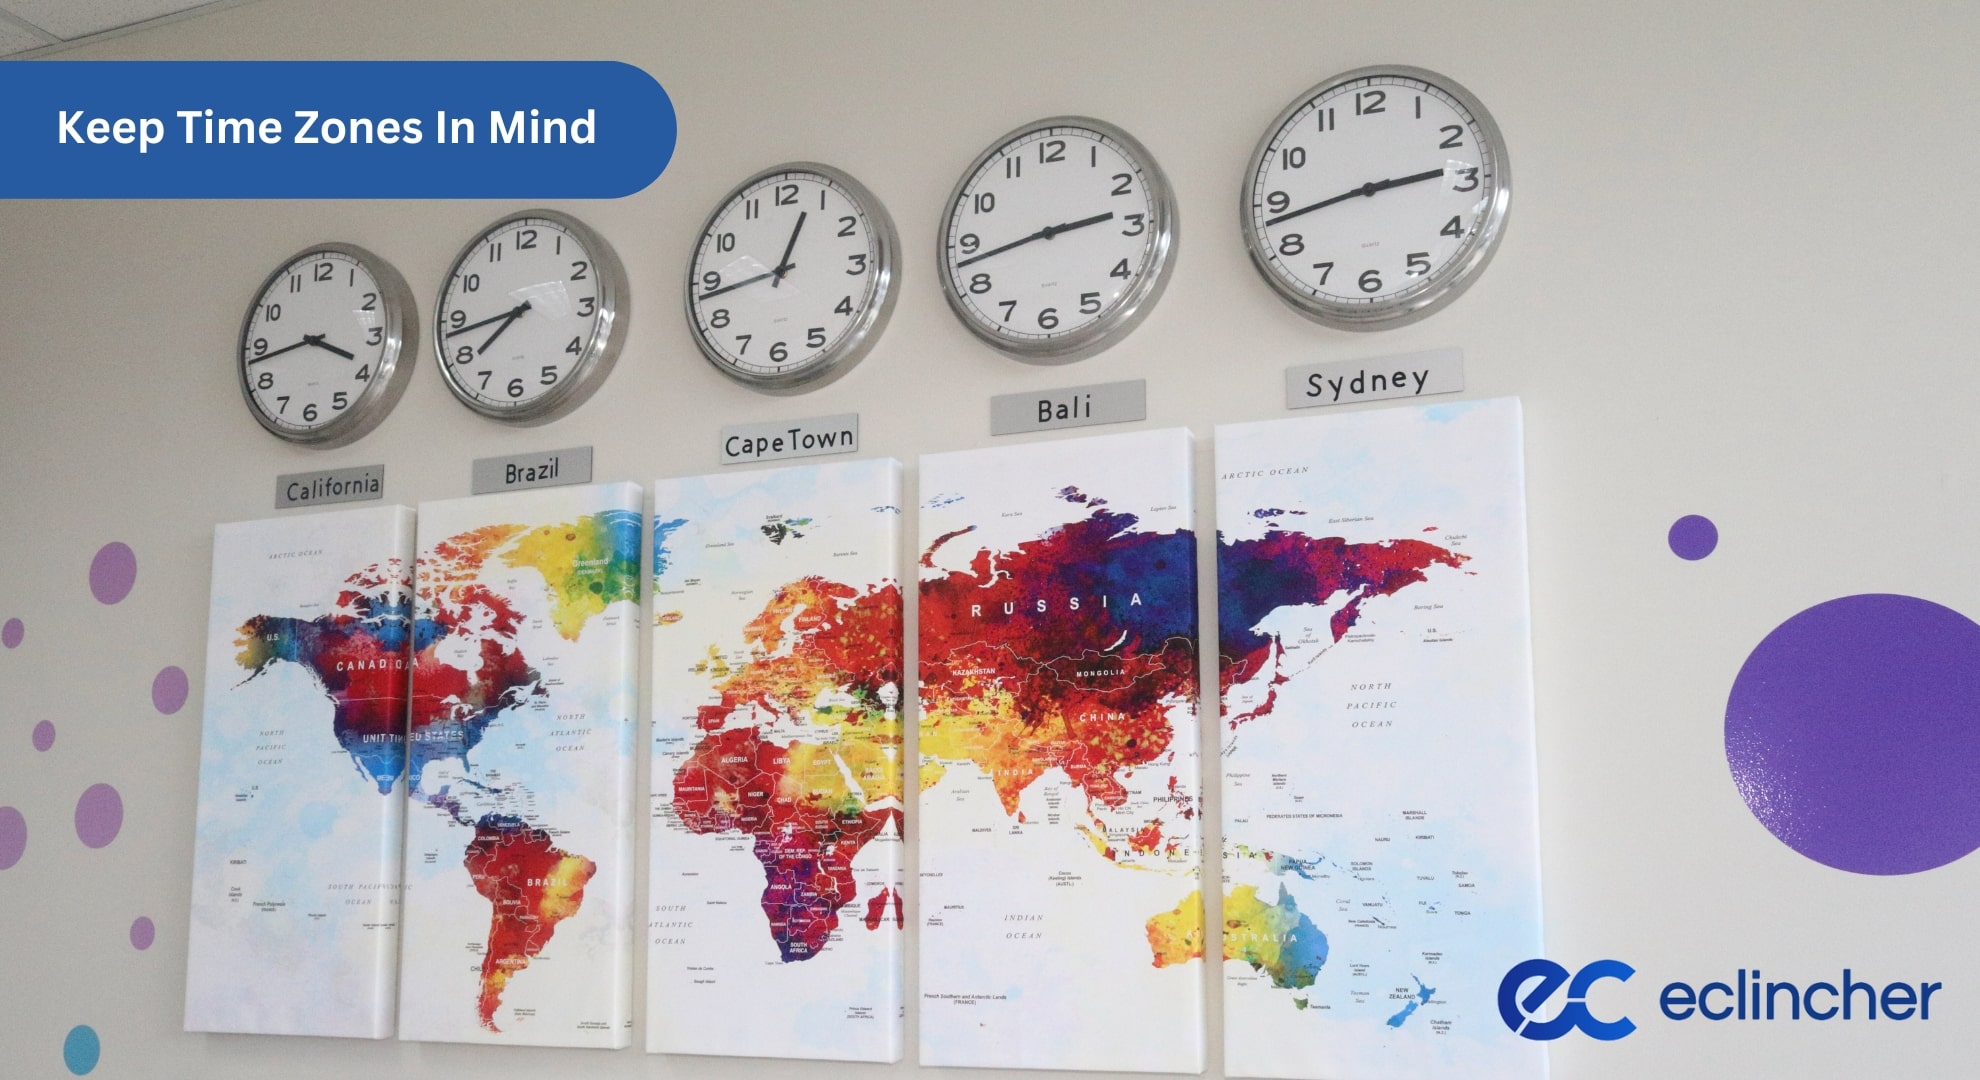
When you schedule posts for a global audience, time zones become important. Make sure your automation tools are set to the correct time zones. Also, when planning posts, pick the right times to reach your audience.
Use social media monitoring tools to determine the best times for different types of content. It's good to try different times for various content before settling into a routine.
Don't Schedule Too Far In Advance
Planning your social media posts ahead of time is helpful, but don't do it too far in advance. Social media trends and topics change quickly. Being current and timely with your content is key. So, avoid scheduling posts way into the future to stay relevant and in touch with the latest happenings.
Optimize Campaigns Using Reports And Analysis
While it's great to use automation tools to publish and schedule your content, it's equally important to use these tools to improve your social media campaigns.
Create detailed reports to see how your content is doing regarding engagement and reach. Use this information to tweak your future campaigns for even better results.
What To Avoid In Social Media Automation?
Avoid using automation to post identical content across different platforms, as each has its unique audience and style. Also, avoid excessive automated replies or likes, as these can appear insincere and spammy.
Spammy Content
Be careful when using bots just to make your account look active. Don't use them for automatic likes or replies, especially if you want to become an influencer. You don't want to risk getting banned for appearing spammy.
Not Customizing Content For Each Social Media
To connect with your audience, tailor your posts for each social media platform. Each platform has its own style and audience, so adjust your content to fit each one. This means not just posting the same thing everywhere.
Less Creativity
Don't just set and forget your ads. Being creative and thoughtful about where and how you place your ads is key. Use the data you have to make smart choices about ad placement. This can help you hit your goals more effectively.
Final Thoughts
Understanding social media automation and how to use it effectively is key to enhancing your online presence. It's not just about saving time; it's about smartly managing your social media tasks to engage better with your audience.
Remember, while automation tools are incredibly helpful, they should be used thoughtfully to maintain authenticity and relevance. Customizing content for each platform, avoiding spam practices, and keeping creativity alive is crucial.
Embrace these tools to streamline your processes, but don't lose the human touch that makes social media so powerful. With the right balance, social media automation can be a game-changer in your digital marketing strategy, helping you connect with your audience more meaningfully and efficiently.
Frequently Asked Questions
What Is Social Media Automation?
Social media automation means using tools to handle your social media work automatically. It saves time, makes your team more productive, and lets your business do more with less. It helps you manage your online conversations better, automatically share your content, and efficiently handle interactions.
Can Social Media Automation Save Money?
Yes, social media automation can save money when used correctly. It frees up time for your marketing team, which means you spend less money on labor. Instead of hiring more people to manage content and post at different times, you can use one automation tool to do all that work.
Will People Know That My Social Media Is Automated?
People might realize your social media is automated, as it's quite common now for businesses. Your followers usually don't mind that posts are scheduled in advance. However, ensuring your posts are timely and make sense when they go live is important. For example, don't post holiday greetings in the middle of summer unless it's for a specific celebration.
%201296x600px.png)
%201296x600px.png)


